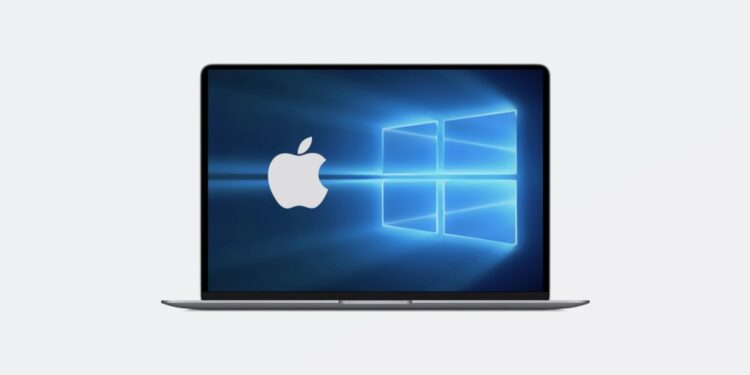
The macOS operating system is more than capable of performing most of the tasks that Windows PCs can. However, there are times when there is a specific piece of software that you need that is only available on Windows. So, instead of buying a separate Windows PC, you can actually install Windows operating system on your Mac. With Boot Camp, you can install Microsoft Windows on your Mac, then switch between macOS and Windows OS when restarting your Mac.
Requirements for installing Windows on a Mac
Before getting started, make sure your Mac meets the requirements for installing and running Windows operating system.
- These are the compatible models:
- MacBook (2015 or later)
- MacBook Air (2012 or later)
- MacBook Pro (2012 or newer)
- Mac mini (2012 or later)
- iMac (2012 or later)
- iMac Pro (all models)
- Mac Pro (2013 or later)
- The latest macOS updates, which can include updates to Boot Camp Assistant.
- 64GB or more free storage space on your Mac startup disk:
- Your Mac can have as little as 64GB of free storage space, but at least 128GB of free storage space provides the best experience. Automatic Windows updates require that much space or more.
- If you have an iMac Pro or Mac Pro with 128GB of memory (RAM) or more, your startup disk needs at least as much free storage space as your Mac has memory.
- An external USB flash drive with a storage capacity of 16GB or more, unless you’re using a Mac that doesn’t need a flash drive to install Windows.
- A 64-bit version of Windows 10 Home or Windows 10 Pro on a disk image (ISO) or other installation media. If installing Windows on your Mac for the first time, this must be a full version of Windows, not an upgrade.
- If your copy of Windows came on a USB flash drive, or you have a Windows product key and no installation disc, download a Windows 10 disk image from Microsoft.
- If your copy of Windows came on a DVD, you might need to create a disk image of that DVD.
How to install Windows 10 on your Mac using Boot Camp
These are the steps you should follow to install Windows 10 on your Mac.
1. Download Windows 10
First you need to download Windows 10 ISO file from Microsoft Store.
- Proceed to Microsoft Windows 10 ISO download page.
- Click on the “Select edition” dropdown menu and pick the edition you want.
- Click “Confirm”.
- Click on the “Select the product language” dropdown menu and pick your language of choice.
- Click “Confirm”.
- Click on “64-bit Download”.
- The ISO file will now be downloaded.
- Once the file has finished downloading, continue on to the next set of steps.
2. Check your Secure Boot setting
The default Secure Boot setting is Full Security. If you changed it to No Security, change it back to Full Security before installing Windows. After installing Windows, you can use any Secure Boot setting without affecting your ability to start up from Windows.
- Turn on your Mac, then press and hold Command (⌘)-R immediately after you see the Apple logo. Your Mac starts up from macOS Recovery.
- When you’re asked to select a user you know the password for, select the user, click “Next”, then enter their administrator password.
- When you see the macOS utilities window, choose Utilities > Startup Security Utility from the menu bar.
- When you’re asked to authenticate, click Enter macOS Password, then choose an administrator account and enter its password.
3. Create a Windows partition using Boot Camp Assistant
You will need to create a partition where you will install the Windows OS.
- Launch “Boot Camp Assistant” from the “Utilities” folder in “Applications”.
- Click “Continue”.
- Boot Camp will automatically locate the ISO file on your system.
- Click and drag the slider in the partition section to select the amount of storage you want:
- If you’re asked to insert a USB drive, plug your USB flash drive into your Mac. Boot Camp Assistant will use it to create a bootable USB drive for Windows installation.
- When Boot Camp Assistant asks you to set the size of the Windows partition, select 64GB or more storage as you want within the limits of the drive. Set a partition size that meets your needs, because you can’t change its size later.
4. Install Windows
Once Boot Camp Assistant creates the partition, you can now proceed to install Windows.
- Click “Install” and wait for Boot Camp Assistant to download all the necessary software like drivers and support files.
- You will be prompted to key in your administrator password. Once done, click “OK”.
- Your Mac will restart, and you will see the Windows setup screen.
- Follow the steps in the ISO’s installer, entering your product key, if not click “I don’t have a product key” at the bottom of the installation window, and choosing the correct version of Windows to install.
- If the installer asks where to install Windows, select the BOOTCAMP partition and click “Format”. In most cases, the installer selects and formats the BOOTCAMP partition automatically.
- Your Mac will restart several times during the installation process.
5. Install Boot Camp and Windows support software (drivers)
After Windows installation completes, your Mac starts up in Windows and opens a “Welcome to the Boot Camp installer” window. Follow the onscreen instructions to install Boot Camp and Windows support software (drivers). You will be asked to restart when done.
- If the Boot Camp installer never opens, open the Boot Camp installer manually and use it to complete Boot Camp installation.
- If you have an external display connected to a Thunderbolt 3 port on your Mac, the display will be blank (black, gray, or blue) for up to 2 minutes during installation.
How to switch between Windows and macOS
After installing Microsoft Windows on your Mac, you can choose whether your Mac starts up in macOS or Windows.
a. Switching from macOS to Windows
Startup Disk Preferences
- On your Mac, choose Apple menu

- Click “Startup Disk”.
- Select “Boot Camp”.
Startup Manager
- Restart your Mac from the Start menu in Windows.
- Press and hold the Option (or Alt) ⌥ key as your Mac begins to restart.
- Select your Windows startup volume (Boot Camp) in the Startup Manager window, then press the “return” key or click the “up arrow” key.
b. Switching from Windows to macOS
Windows taskbar
- From the notification area on the right side of the Windows taskbar, click
 to show hidden icons.
 - Click the Boot Camp icon
 .
. - From the menu shown, choose Restart in macOS.
Startup Manager
- Restart your Mac from the Start menu in Windows.
- Press and hold the Option (or Alt) ⌥ key as your Mac begins to restart.
- Select your Mac startup volume (Macintosh HD) in the Startup Manager window, then press “return” key or click the “up arrow” key.
Updating Windows
Now that you have Windows 10 installed on your Mac, you can always update it. The easiest way to do so is to use Windows Update.
- Click the “Start” button.
- Click the “Settings” button. It looks like a gear.
- Click “Update & security”.
- Click “Check for updates”.


